

Beginner’s Guide to Wood Staining
One of the biggest surprises when I started woodworking was realizing how much stain can completely change a piece.
The exact same wood can look rustic, modern, moody, warm, farmhouse inspired, or ultra high end depending on the stain color and finish you choose.
And honestly? Staining looks WAY easier than it actually is 😅
I thought you just brushed color onto wood and magically got a Pinterest worthy finish.
Absolutely not.
The first time I stained a project, it came out blotchy, uneven, and somehow darker in random places for absolutely no reason. I learned very quickly that staining is less about “painting wood” and more about understanding the material you are working with.
So if you are brand new to woodworking or DIY projects, here are some beginner friendly staining tips that can save you a lot of frustration.
Not All Wood Takes Stain the Same Way 🪵
This is one of the MOST important things beginners need to know.
Different woods absorb stain differently.
For example:
✨ Pine can become blotchy very easily
✨ Oak absorbs stain beautifully and highlights grain patterns
✨ Maple can resist stain and appear uneven
✨ Birch often needs extra prep work
The type of wood you choose matters just as much as the stain color itself.
This is why test pieces are your best friend.
Always test stain on a scrap piece before committing to your actual project.
Trust me on this one 😭
Sanding Changes Everything
If your stain looks uneven, rough, or patchy, the issue is often sanding.
Proper sanding helps the wood absorb stain more evenly and creates a smoother finish overall.
A general beginner sanding progression looks something like this:
✨ 80 grit for rough shaping
✨ 120 grit for smoothing
✨ 180 or 220 grit before staining
And yes… sanding takes forever sometimes 😂
But skipping steps almost always shows in the final result.
This is honestly where having quality tools starts making a huge difference. A smooth, consistent sand can completely elevate a project before stain even touches the surface.
Always Remove Dust First 🧹
This sounds obvious until you forget once.
Sawdust left on the wood can mix with stain and create muddy spots or rough texture.
Before staining:
✔️ Vacuum the piece
✔️ Wipe it down with a tack cloth or microfiber cloth
✔️ Make sure the surface is fully dry and clean
Tiny dust particles become VERY visible once stain is applied.
Less Is More
A lot of beginners overload stain because they think more product equals deeper color.
Usually it just creates a sticky mess.
Apply stain in thin, even coats and wipe away excess product after a few minutes.
You can always darken wood with additional coats.
Fixing overly heavy stain? Much harder 😅
Pay Attention to Dry Time ⏳
I know.
You want to finish the project immediately.
We all do.
But rushing stain before it properly dries can ruin the finish entirely. Smudging, tackiness, uneven top coats, and fingerprints are all very real possibilities.
Humidity and temperature also affect dry time more than people realize.
New England weather has humbled me more times than I can count 😂
Top Coats Matter Too ✨
Stain adds color.
Top coats add protection.
If you skip sealing your project, the finish may wear down quickly over time.
Popular beginner friendly top coats include:
✨ Polyurethane
✨ Polycrylic
✨ Furniture wax
✨ Hard wax oils
Each one creates a different final look and feel, so researching finishes is just as important as choosing stain.
Do Not Panic Over Imperfections 🤎
Woodworking has taught me that perfection is rarely the goal.
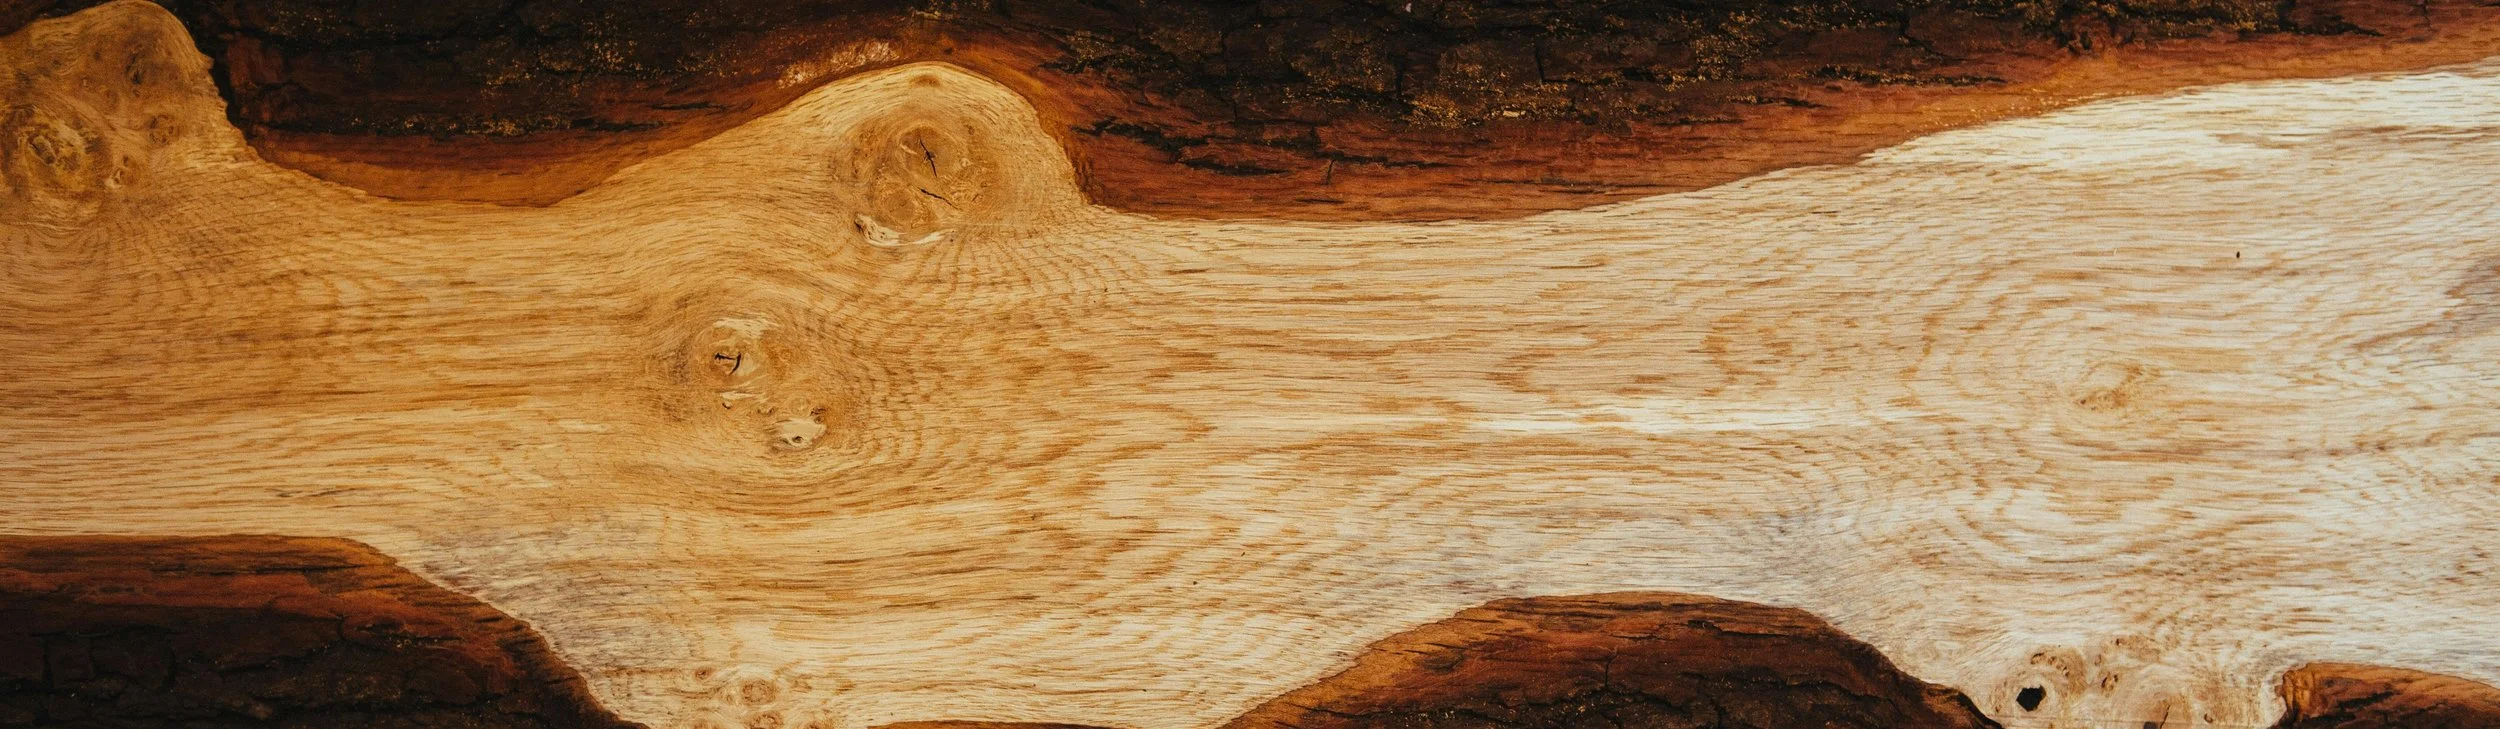
Wood naturally contains knots, grain variation, texture changes, and imperfections. That is what makes handmade pieces feel alive and unique.
Sometimes a stain absorbs unevenly because the wood itself has character.
And honestly? Those little imperfections often become my favorite parts.
The beauty of woodworking is that every project teaches you something new.
Every stain color behaves differently.
Every board reacts differently.
Every mistake helps build experience.
So if your first stained project does not come out exactly how you imagined, welcome to the club 😅
Keep experimenting. Keep learning. Keep creating.
That is where the magic really happens ✨